
The need for 3D modeling and rendering services is growing yearly. Engineering services, construction, interior, and exterior design-related industries have recognized the advantages of CGI and made full use of it. There are various reasons for it: using 3D visualizations it’s feasible to display things that don’t exist yet or make cheaper photographs in mass while preserving good image quality. The advantages for architectural firms include those already discussed.
3D visualization and hand-drawn sketches can present concepts that have not yet been realized in the actual world. However, the former has a significant advantage over the latter because contemporary 3D rendering software can create images that are indistinguishable from pictures.
This kind of excellence leaves no room for interpretation and secures construction contracts as a result. To increase their sales, several architecture businesses have already recognized this and used 3D modeling and rendering services; you should do the same.
Rendering for CAD Models
We provide outsourced CAD rendering services for whole structures, architectural theme parks, resorts, and recreation areas, furniture items, architectural ornamental products, and rendering of wood and metal to generate effective marketing brochures at reasonable prices.
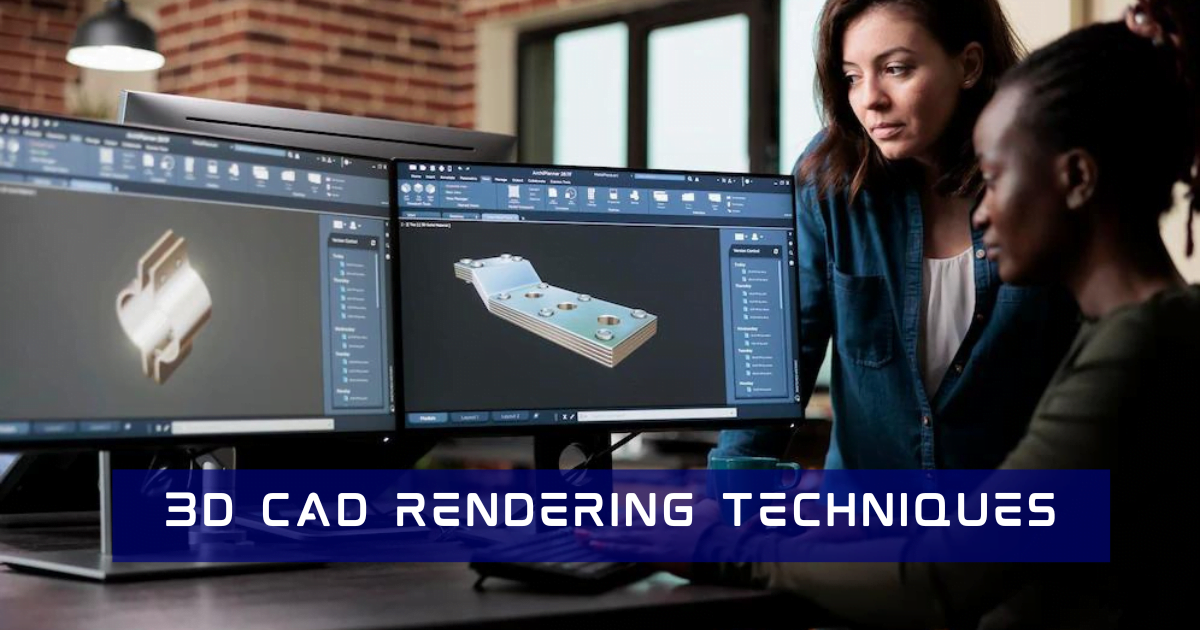
In order to help engineering design businesses, architectural consultants, architects, and interior design firms effectively sell their designs and products, we create high-end rendering by importing 2D drawings and 3D CAD models from Revit, AutoCAD, and SolidWorks into V-Ray and 3ds Max.
To marketing departments, contractors, product design engineers, and end users as well as design teams themselves, our 3D renderings aim to improve design communication among all the project stakeholders. Using Photoshop and Lightroom, our 3D artists emphasize lighting, shadows, dents, and textures to enhance design elements. They also generate immersive graphics that are compatible with AR/VR technology and BIM as-built models that are used to make walkthroughs.
Concept Phase
The artist receives a client’s suggestion to begin the procedure. The artist will request as many specifics as they can, including as many visual examples as they can, in order to better grasp the client’s requirements. Photos, sketches, mood boards, and a variety of other visual materials can be used as visual references to assist artists in visualizing the work they are doing.
They will advance to the following stage after they have enough information to determine what to produce.
Work with Trusted 3D Rendering Professionals
Our team ensures accuracy, detail, and lifelike renderings tailored for architects, interior designers, and furniture makers worldwide.
The Principal 3D Rendering Methodologies
The main methods for 3D rendering are listed below. It is advisable to apply these approaches in the proper proportions because they all have advantages and disadvantages.
- Technique for Scanline Rendering
The scanline method is your best choice when you need to shorten the rendering time. Instead of rendering using pixels, it offers real-time rendering based on a polygon-by-polygon basis in 3D CAD modeling. If precomputed lighting is employed using this technique, rates of 60 frames per second can be reached.
2. Technique for Ray Tracing Rendering
Rendering 3D modeling is made simpler with ray tracing. Through either reflection or refraction of the materials in a 3D scene, it precisely “bounces” the natural light in order to trace it. It achieves the highest photorealism than the scanline and computes each color algorithmically. The sole drawback to the Ray tracing method is how tediously slow it is—much slower than scanline.
3. Technique for Ray Casting Rendering
The ray-casting approach is your best option if you are working on a project that will not call for displaying a lot of specifics. It renders a project using an object’s geometry, pixel by pixel and line by line. Its main application is for 3D modeling simulations in real-time. It works very hard to improve performance at the computational step for the best outcomes.
Types of 3D CAD Renderings
1. Rendering in Real Time
Consider your most recent experience with a 3D character in a video game. The character seemed to move and leap around the screen as you played and interacted with it, much like a real person might. When you requested the character to perform things like walk around or bounce up and down, they responded so swiftly that the animation seemed to be happening in real-time. The application stage, the geometry stage, and the rasterizing stage are the three stages that make up the real-time rendering process. These are the steps that must be completed by the computer in order to display the produced 3D objects.
2. Offline Pre-Rendering
Some rendering techniques are too sluggish to be real-time. Despite not being interactive, these renders frequently appear far better than real-time renders because they can handle much more intricate geometry. Although rendering each frame may take hours, the ultimate effect looks far more amazing.
Different Rendering Methods
Z-buffering
The alternative term for depth buffering is z-buffering. Z-buffering is used to aid the computer in determining whether an object will be in or out of view in a scene.
casting ray
The best way to comprehend ray casting is to visualize a ray of sunshine. Until it encounters an object, the light travels forward before being reflected, refracted, or absorbed. This idea is used in ray casting to determine the distance between the eye and the closest object.
Radiosity
For carefully examining light reflection and making it the primary focus of the 3D rendering, Radiosity produces 3D images. It works best on items that naturally reflect a lot of light.
The Whole Procedure
- Create Your Ideas
Before starting a pre-production process or 3D modeling, the first and most important step is to mull over your ideas utilizing a pen and paper. Additionally, you can use some cutting-edge tools to sketch your ideas. With the most advanced tools available, you may sketch ideas while you’re on the move and easily share them with your client in real-time. You wouldn’t waste time learning pointless information as a result. You can immediately execute a client’s modification request, avoiding the need for later adjustments after rendering or 3D modeling. For both yourself and your clients, you would save time and money.
2. Utilize the Rendering Software Choices Available
A wide variety of cutting-edge software for 3D rendering and visualizations is readily available on the market. To get the greatest results, you can use a mix of these tools. You can combine a variety of platforms and tools for architectural rendering, and you’d be astonished at how many of them work well together to provide the greatest renders without taking all day.
3. Create Your Library
Make a library of excellent models that have been enhanc for the greatest quality is one method for streamlining the full procedure. You wouldn’t have to spend time adding effects like glossiness, diffuse, refract, etc. to improve subpar models. Once the process is over, you can render your 3D models without worrying about the quality of the results.
4. Simple is best
Keep in mind that the rendering process takes longer the more sophisticated your modeling is. It is necessary to make your project extremely complex; nonetheless, lighting and texture cannot be ignored in any project.
If you’re looking for 3D CAD rendering services for your product design then feel free to reach out at info@shalindesings.com or contact us by submitting this form.


